To make two napkins, you will need 1/4 yard of two different fabrics (that's 1/2 yard total, and means you can make 8 napkins out of 1 yard of each fabric, or a total of 2 yards).
Step 1:
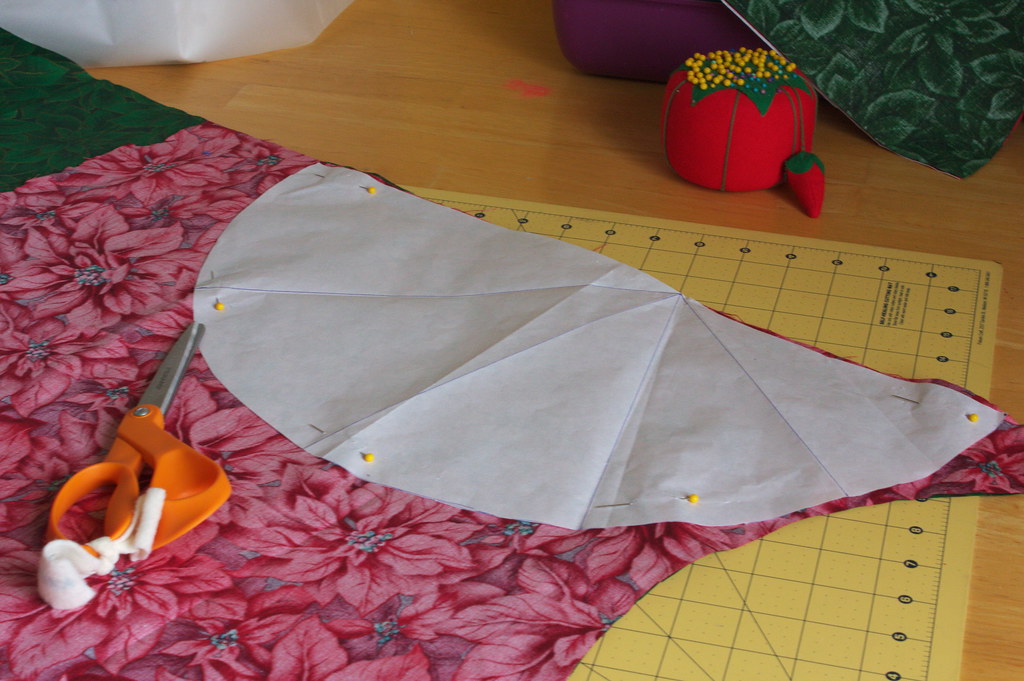
Make your pattern. This is a simple half circle with a diameter of 18 inches.
Step 2:
With right sides together, place your pattern and cut out as many napkins as you plan to make (I found this project went much faster when I did each step to all the napkins before moving on to the next step). Stick a pin or two in each napkin to keep the pieces in place.
Step 3:
With right sides still together, sew a 1/4 inch seam around the whole thing, leaving a few inches open on one side of the straight edge so you can turn it right side out. Clip the corners and make little cuts all around the rounded edge.
Step 4:
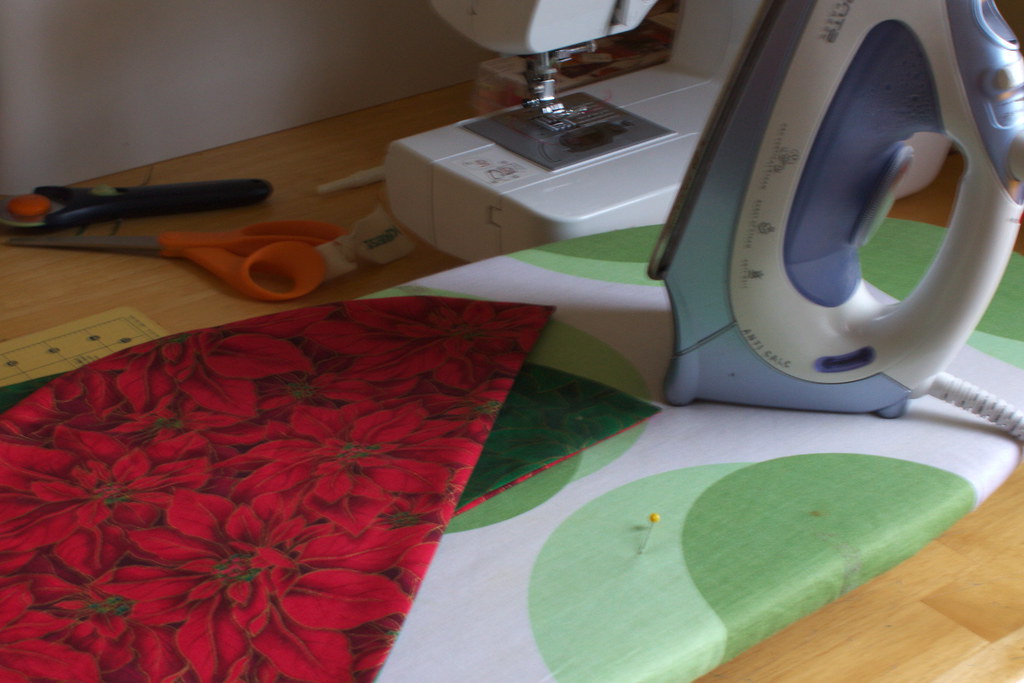
Turn the napkin right side out and use a straight pin to pull out the corners and help the seam lay flat. Iron. I find this to be the most tedious part, especially when you are doing a whole bunch at a time, but making sure the seams are all ironed flat is probably the most crucial step.
Step 5:
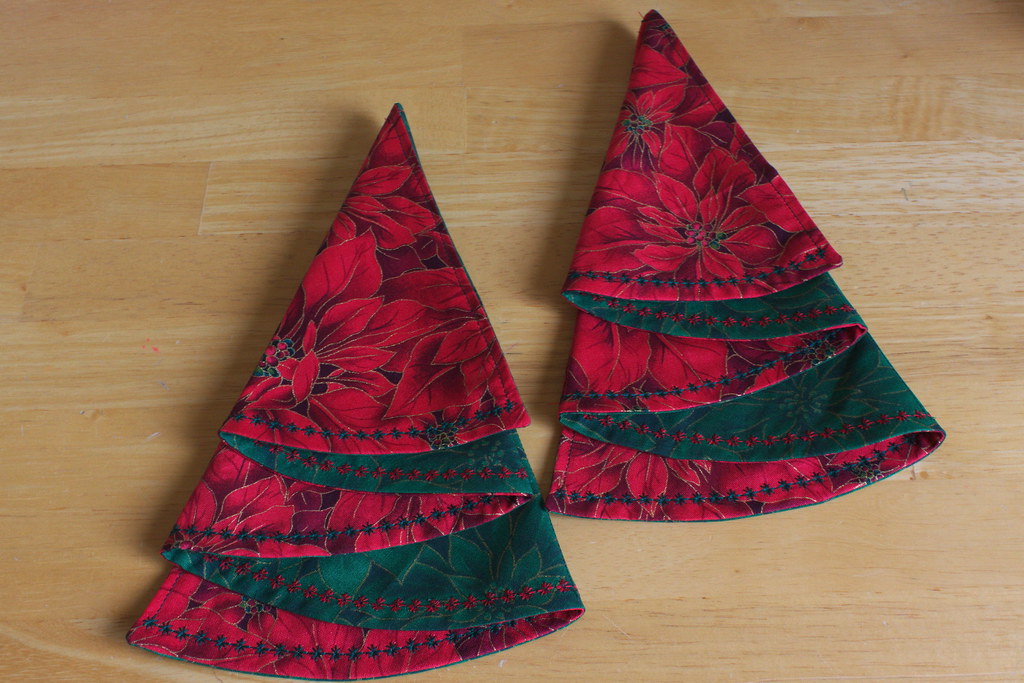
Fold the napkin. Start with the curved side pointing away from you. Place a finger roughly 7.5 inches from the left hand side of the napkin along the straight edge. Fold back the right hand side of the napkin to roughly 7.5 inches up the curved edge, then continue to fold accordion style until you get something that looks like a Christmas tree. Don't worry, the folding is much more intuitive than this description would lead one to believe. Adjust until the edges all line up, then iron. Using thread colors on the top and bottom that will blend in with your fabric, sew a straight line along the creases. This will help future users know where to fold the napkin after it's been laundered. Skip this step if you want your napkins to be reversible.
Step 6:
Top stitch along the whole border. I used a decorative stitch in contrasting colors along the curved edge, and a straight stitch along the straight side. This is when you will be sewing up the hole used to turn the napkin right side out, so make sure not to skip this step even if you choose not to do any embellishments.
Step 7:
Refold the napkins and iron one more time for a nice crisp look.